Plugins
WooCommerce
WooCommerce is an open-source e-commerce plugin for WordPress. Small to large-sized online merchants use WooCommerce to sell anything ranging from mobile devices to clothing to accessories.
Description
Payfi Payment Plans & Checkout plugin for WooCommerce is a checkout solution that allows you to accept automated installments from your customers before they get access to the product.
Visit the Payfi for WooCommerce Plugin Guides on the WordPress Directory
Screenshots
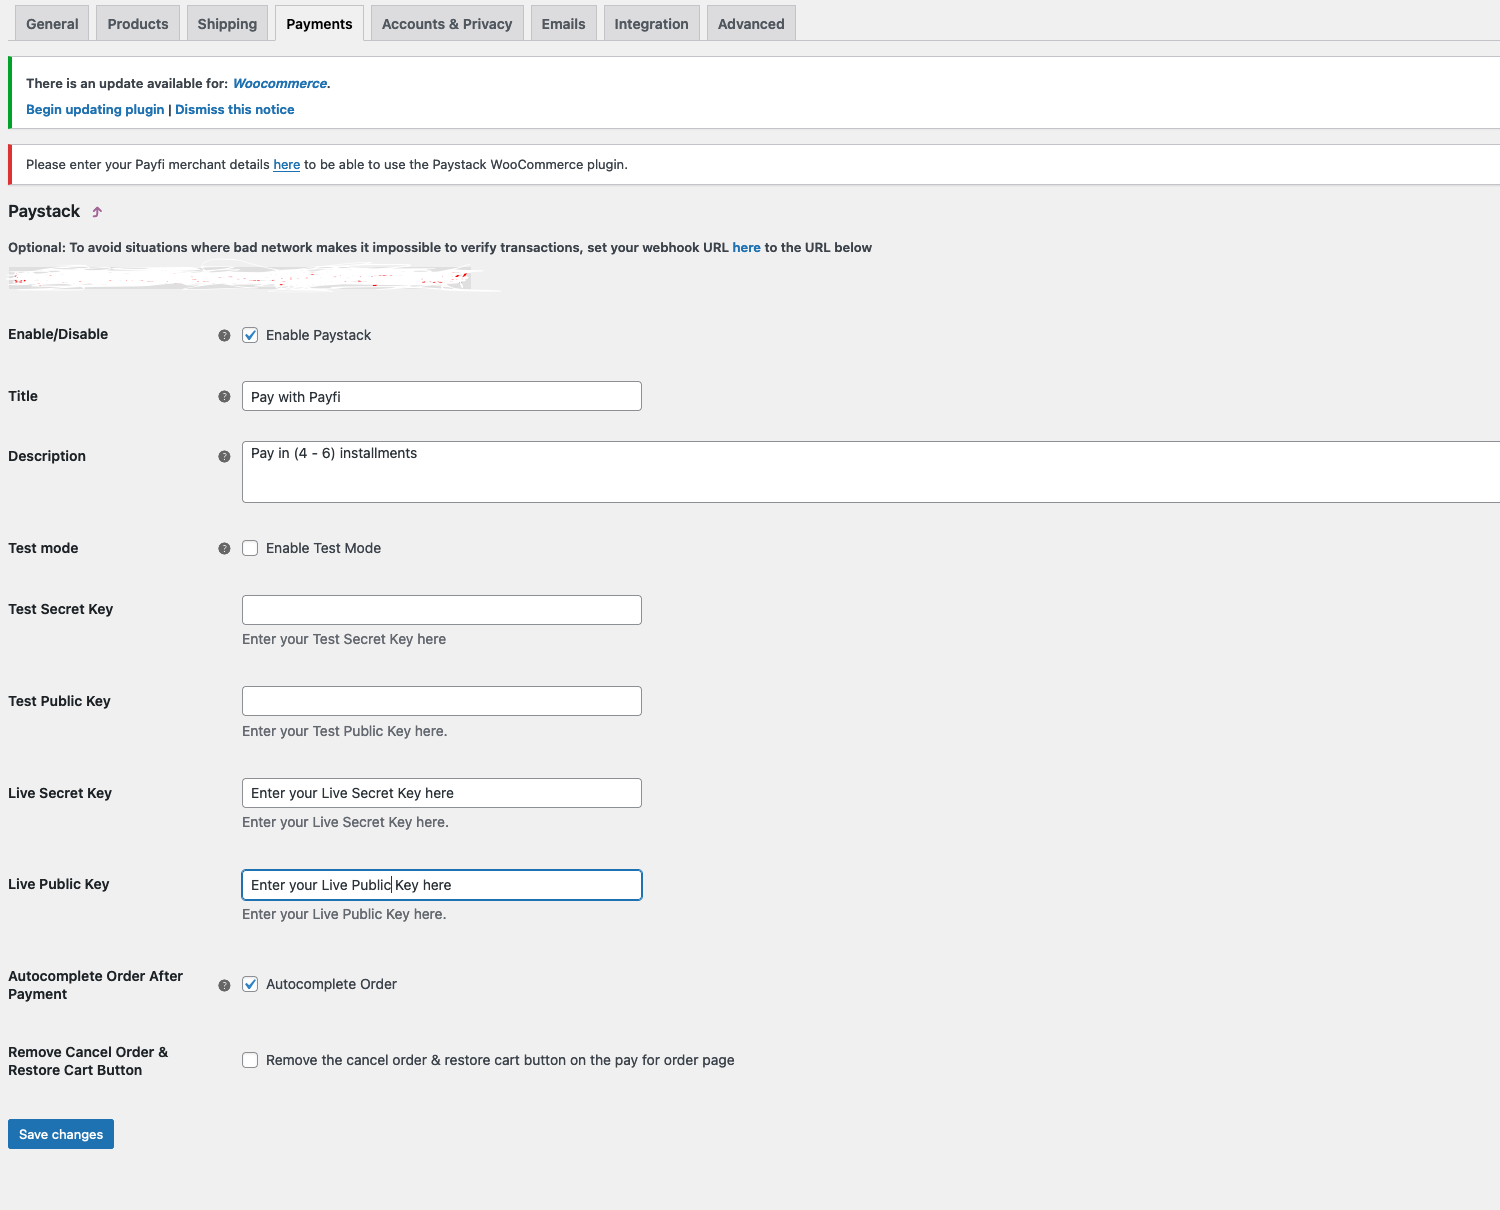
Payfi Woocommerce Payment Gateway Settings
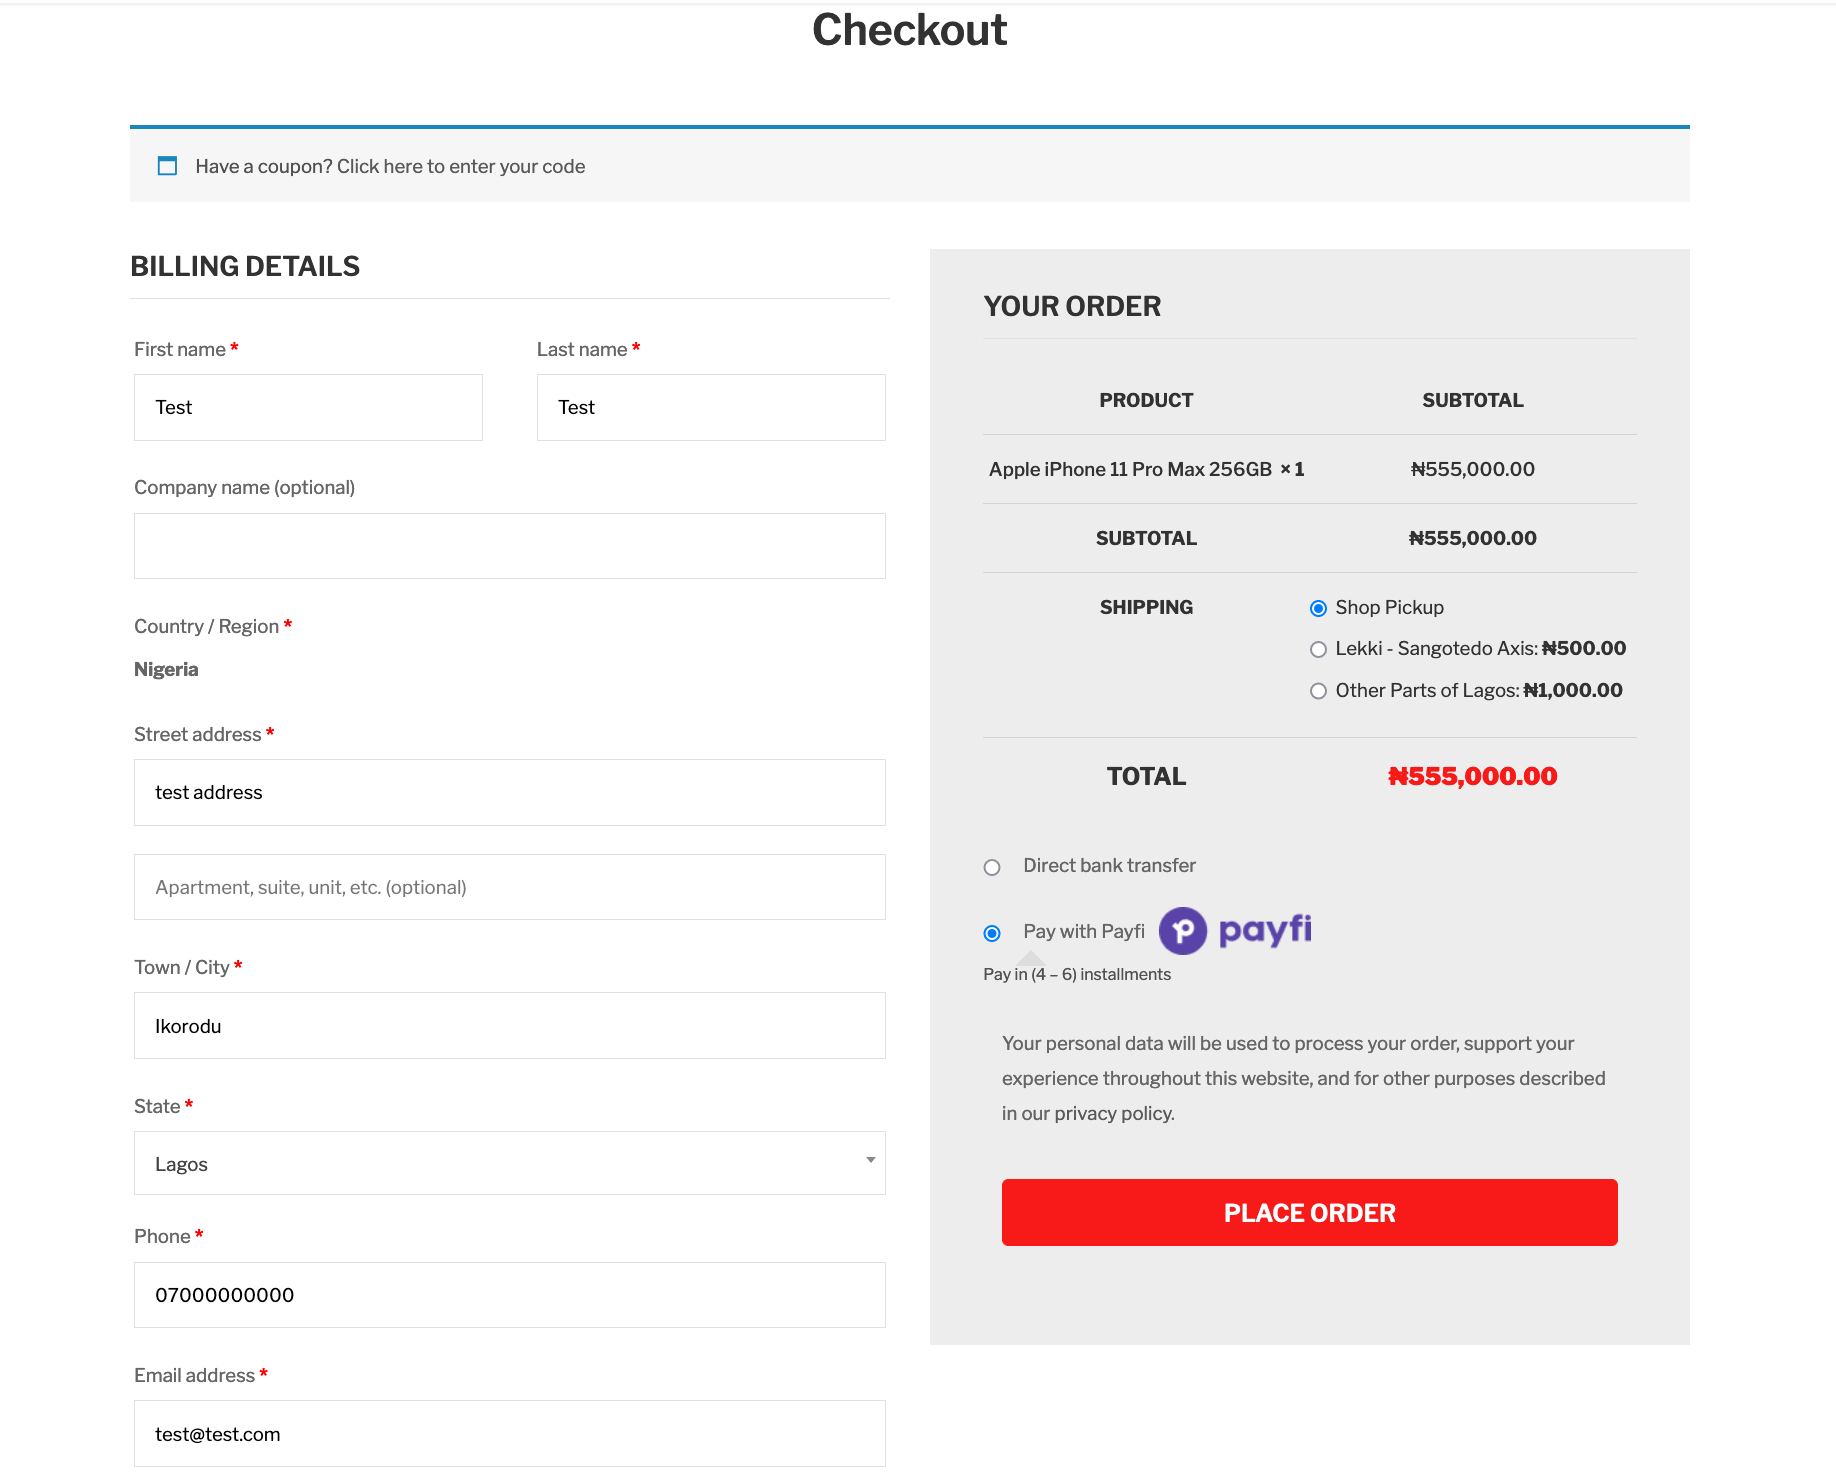
Payfi Woocommerce Payment Gateway on the checkout page
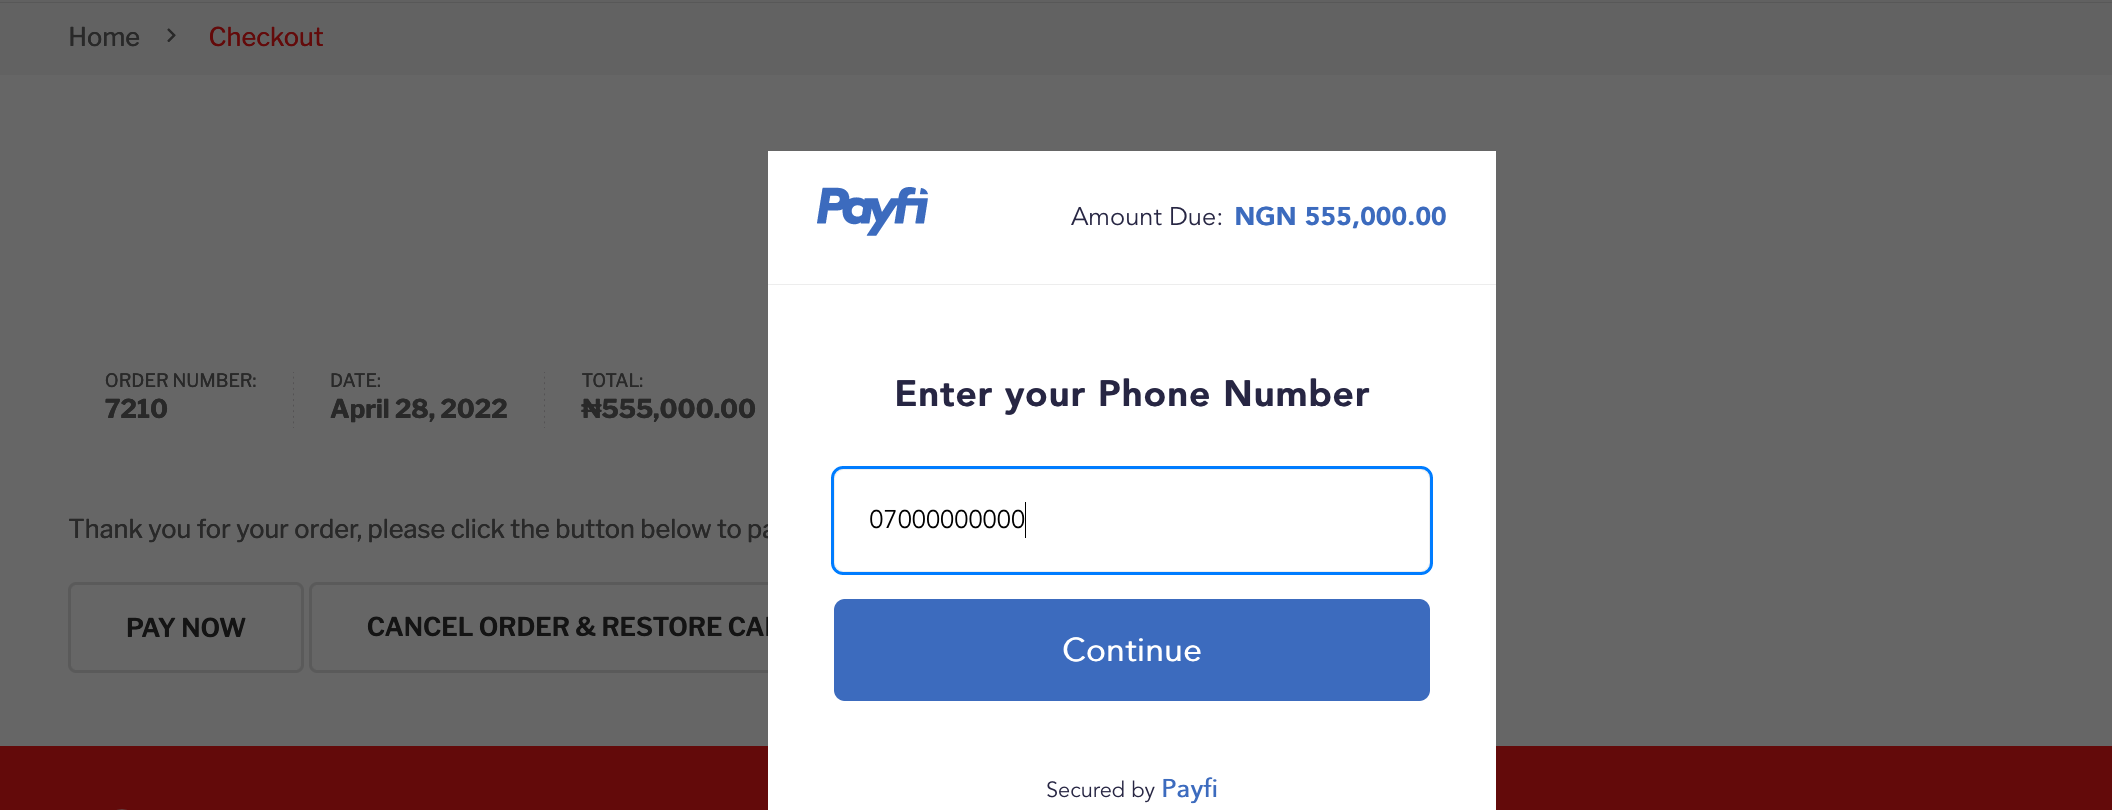
Customer checkout session validation
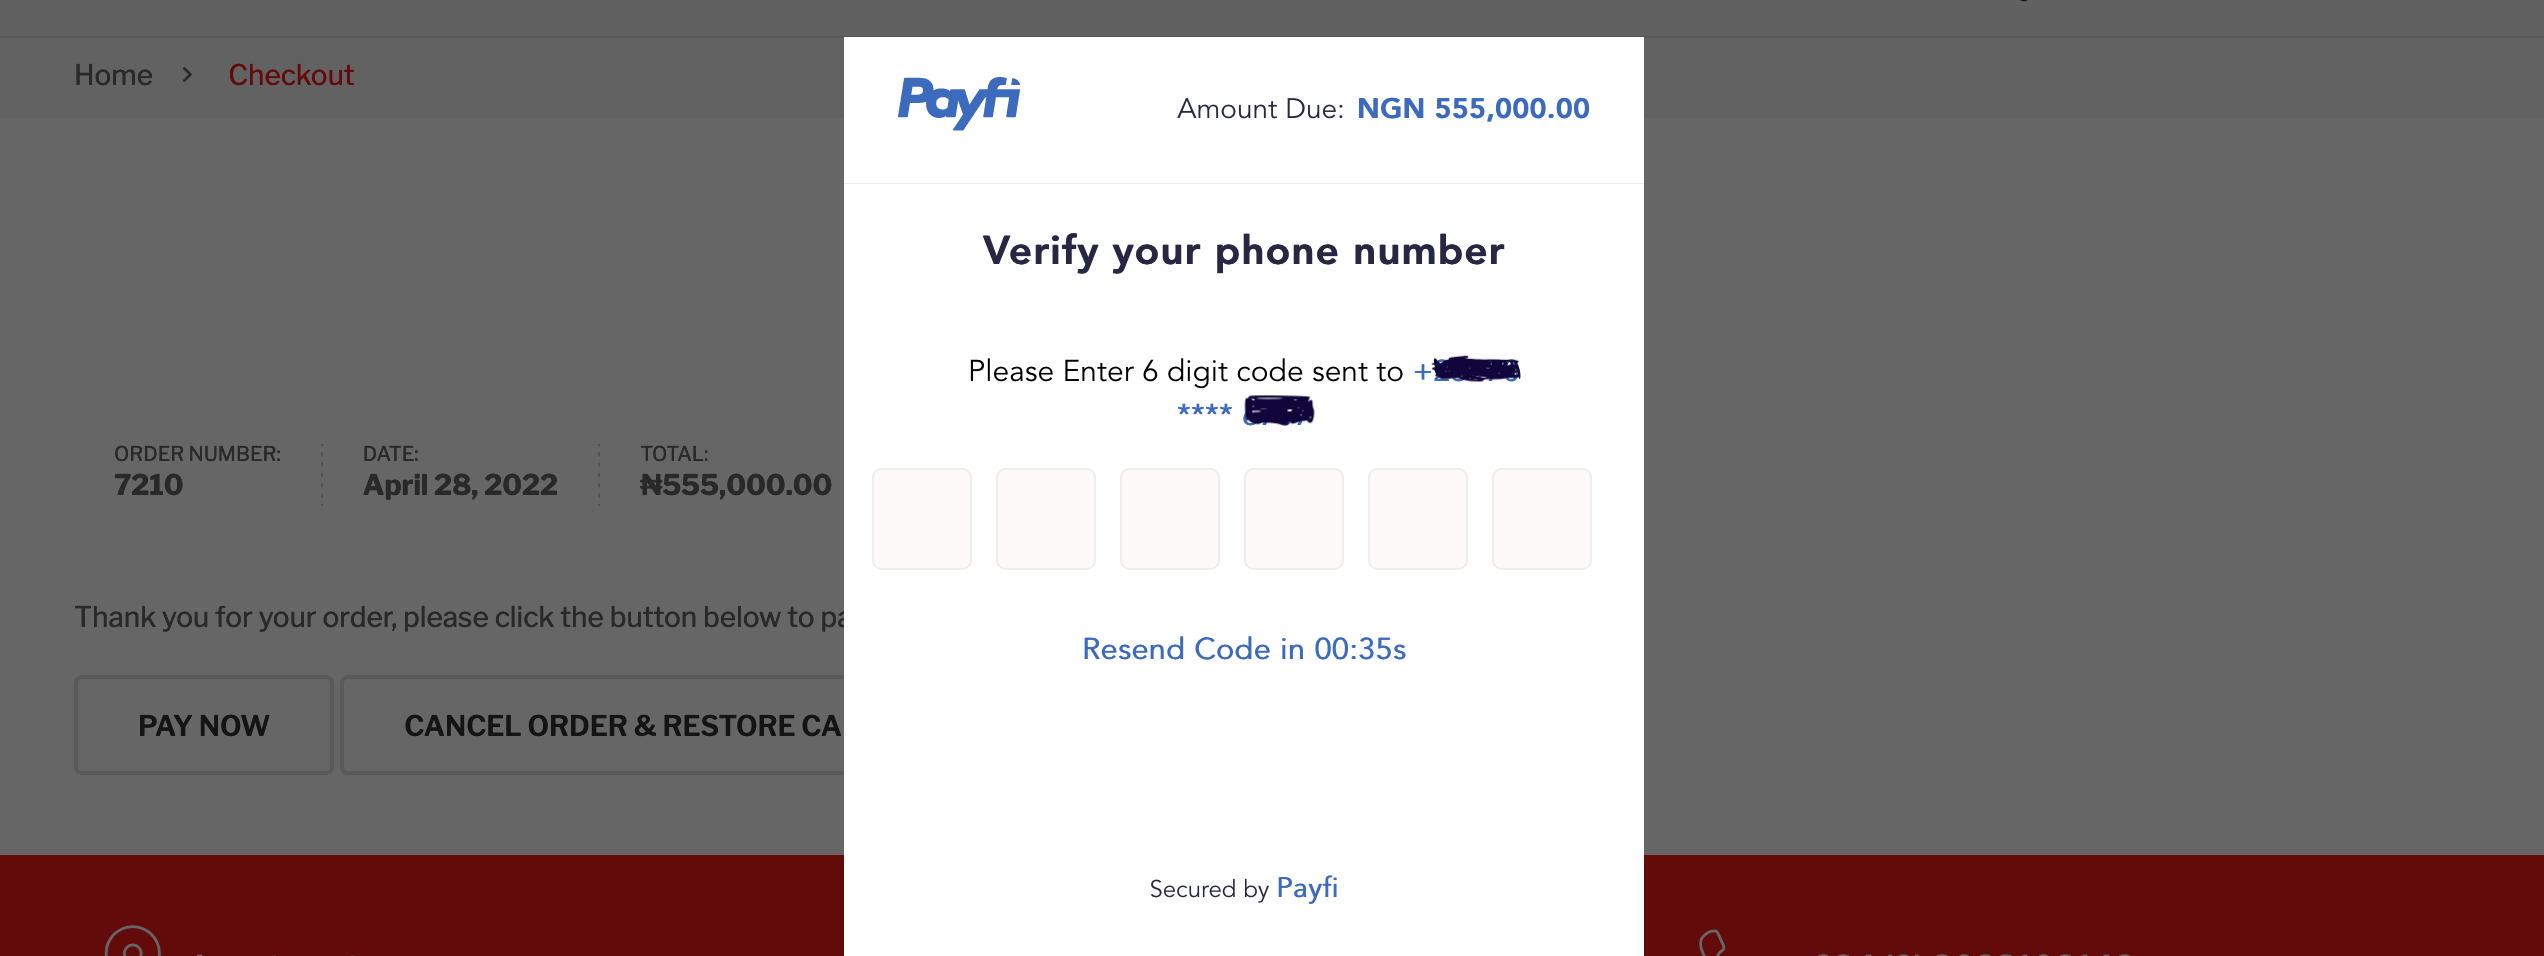
Customer checkout session validation

Customer checkout eligibility check
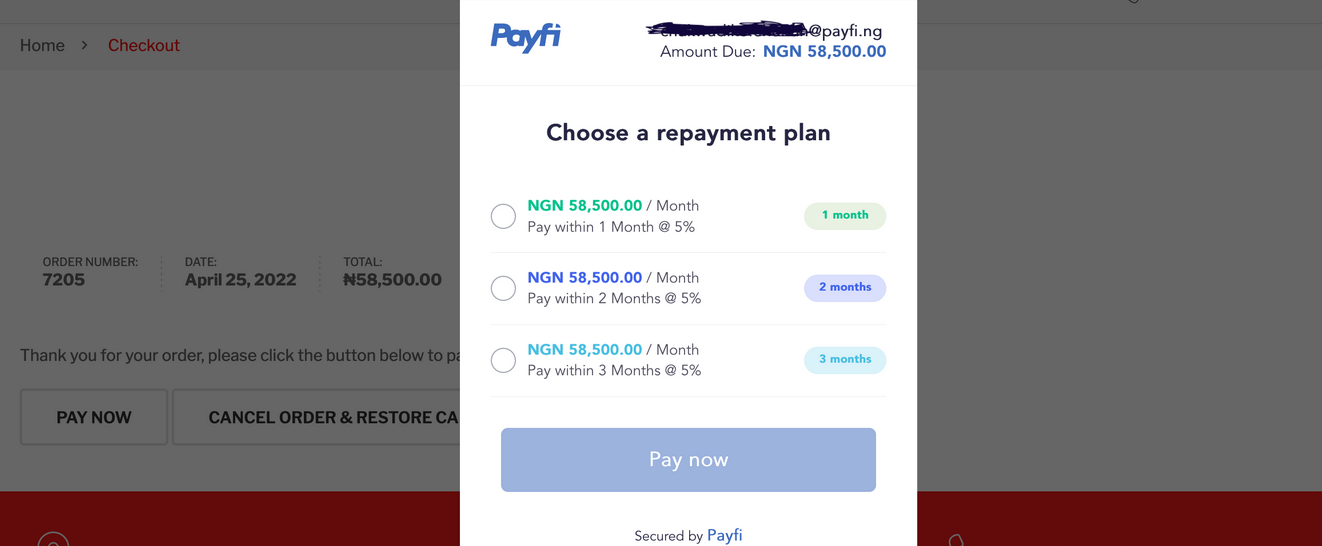
Customer checkout payment plan
Installation
Automatic Installation
- Login to your WordPress Admin area.
- Go to “Plugins > Add New” from the left hand menu.
- In the search box type Payfi BNPL Payment Gateway.
- From the search result you will see Payfi BNPL Payment Gateway click on Install Now to install the plugin
- A popup window will ask you to confirm your wish to install the Plugin.
- After installation, activate the plugin.
- Open the settings page for Woocommerce and click the “Checkout” tab.
- Click on the Payfi BNPL Payment Gateway link from the available Checkout Options
- Configure your Payfi BNPL Payment Gateway settings. See below for details.
Manual Installation
- Download the plugin zip file.
- Login to your WordPress Admin area.
- Go to “Plugins > Add New” from the left-hand menu.
- Click on Upload Plugin.
- Upload the downloaded zip file.
- Click on Install Now to install the plugin.
- After installation, activate the plugin.
- Configure your Payfi BNPL Payment Gateway settings. See below for details.
Configure the plugin
To configure the plugin, go to Woocommerce > Settings from the left-hand menu, then click Payment from the top tab. You will see Payfi BNPL Payment Gateway as part of the available payment method. Click on it to configure the payment gateway.
- Enable/Disable – Check the box to enable Payfi BNPL Payment Gateway.
- Title – This allows you to determine what your customers will see this payment method as on your checkout page. Kindly use the information below.
Title: Pay in 2-6 instalments with Payfi - Description – This controls the message that appears under the payment fields on the checkout page. Kindly use the information below.
Description: Spread payments for up to 6 months - Test Mode – Check to enable test mode. Test mode enables you to test payments before going live. If you are ready to start receiving real payment on your site, kindly uncheck this.
- Test Secret API Key – Enter your Test Secret Key here. Get your API keys from your Payfi Merchant Account under Settings > API & Webhooks
- Test Public API Key – Enter your Test Public Key here. Get your API keys from your Payfi Merchant Account under Settings > API & Webhooks
- Live Secret API Key – Enter your Live Secret Key here. Get your API keys from your Payfi Merchant Account under Settings > API & Webhooks
- Live Public API Key – Enter your Live Public Key here. Get your API keys from your Payfi Merchant Account under Settings > API & Webhooks
- Click on Save Changes for the changes you made to be effected.
MAGENTO
Description
Payfi Payment Plans & Checkout plugin for Magento is a checkout solution that allows you to accept automated installments from your customers before they get access to the product.
Screenshots

Payfi Magento Payment Gateway on the checkout page

Customer checkout session validation
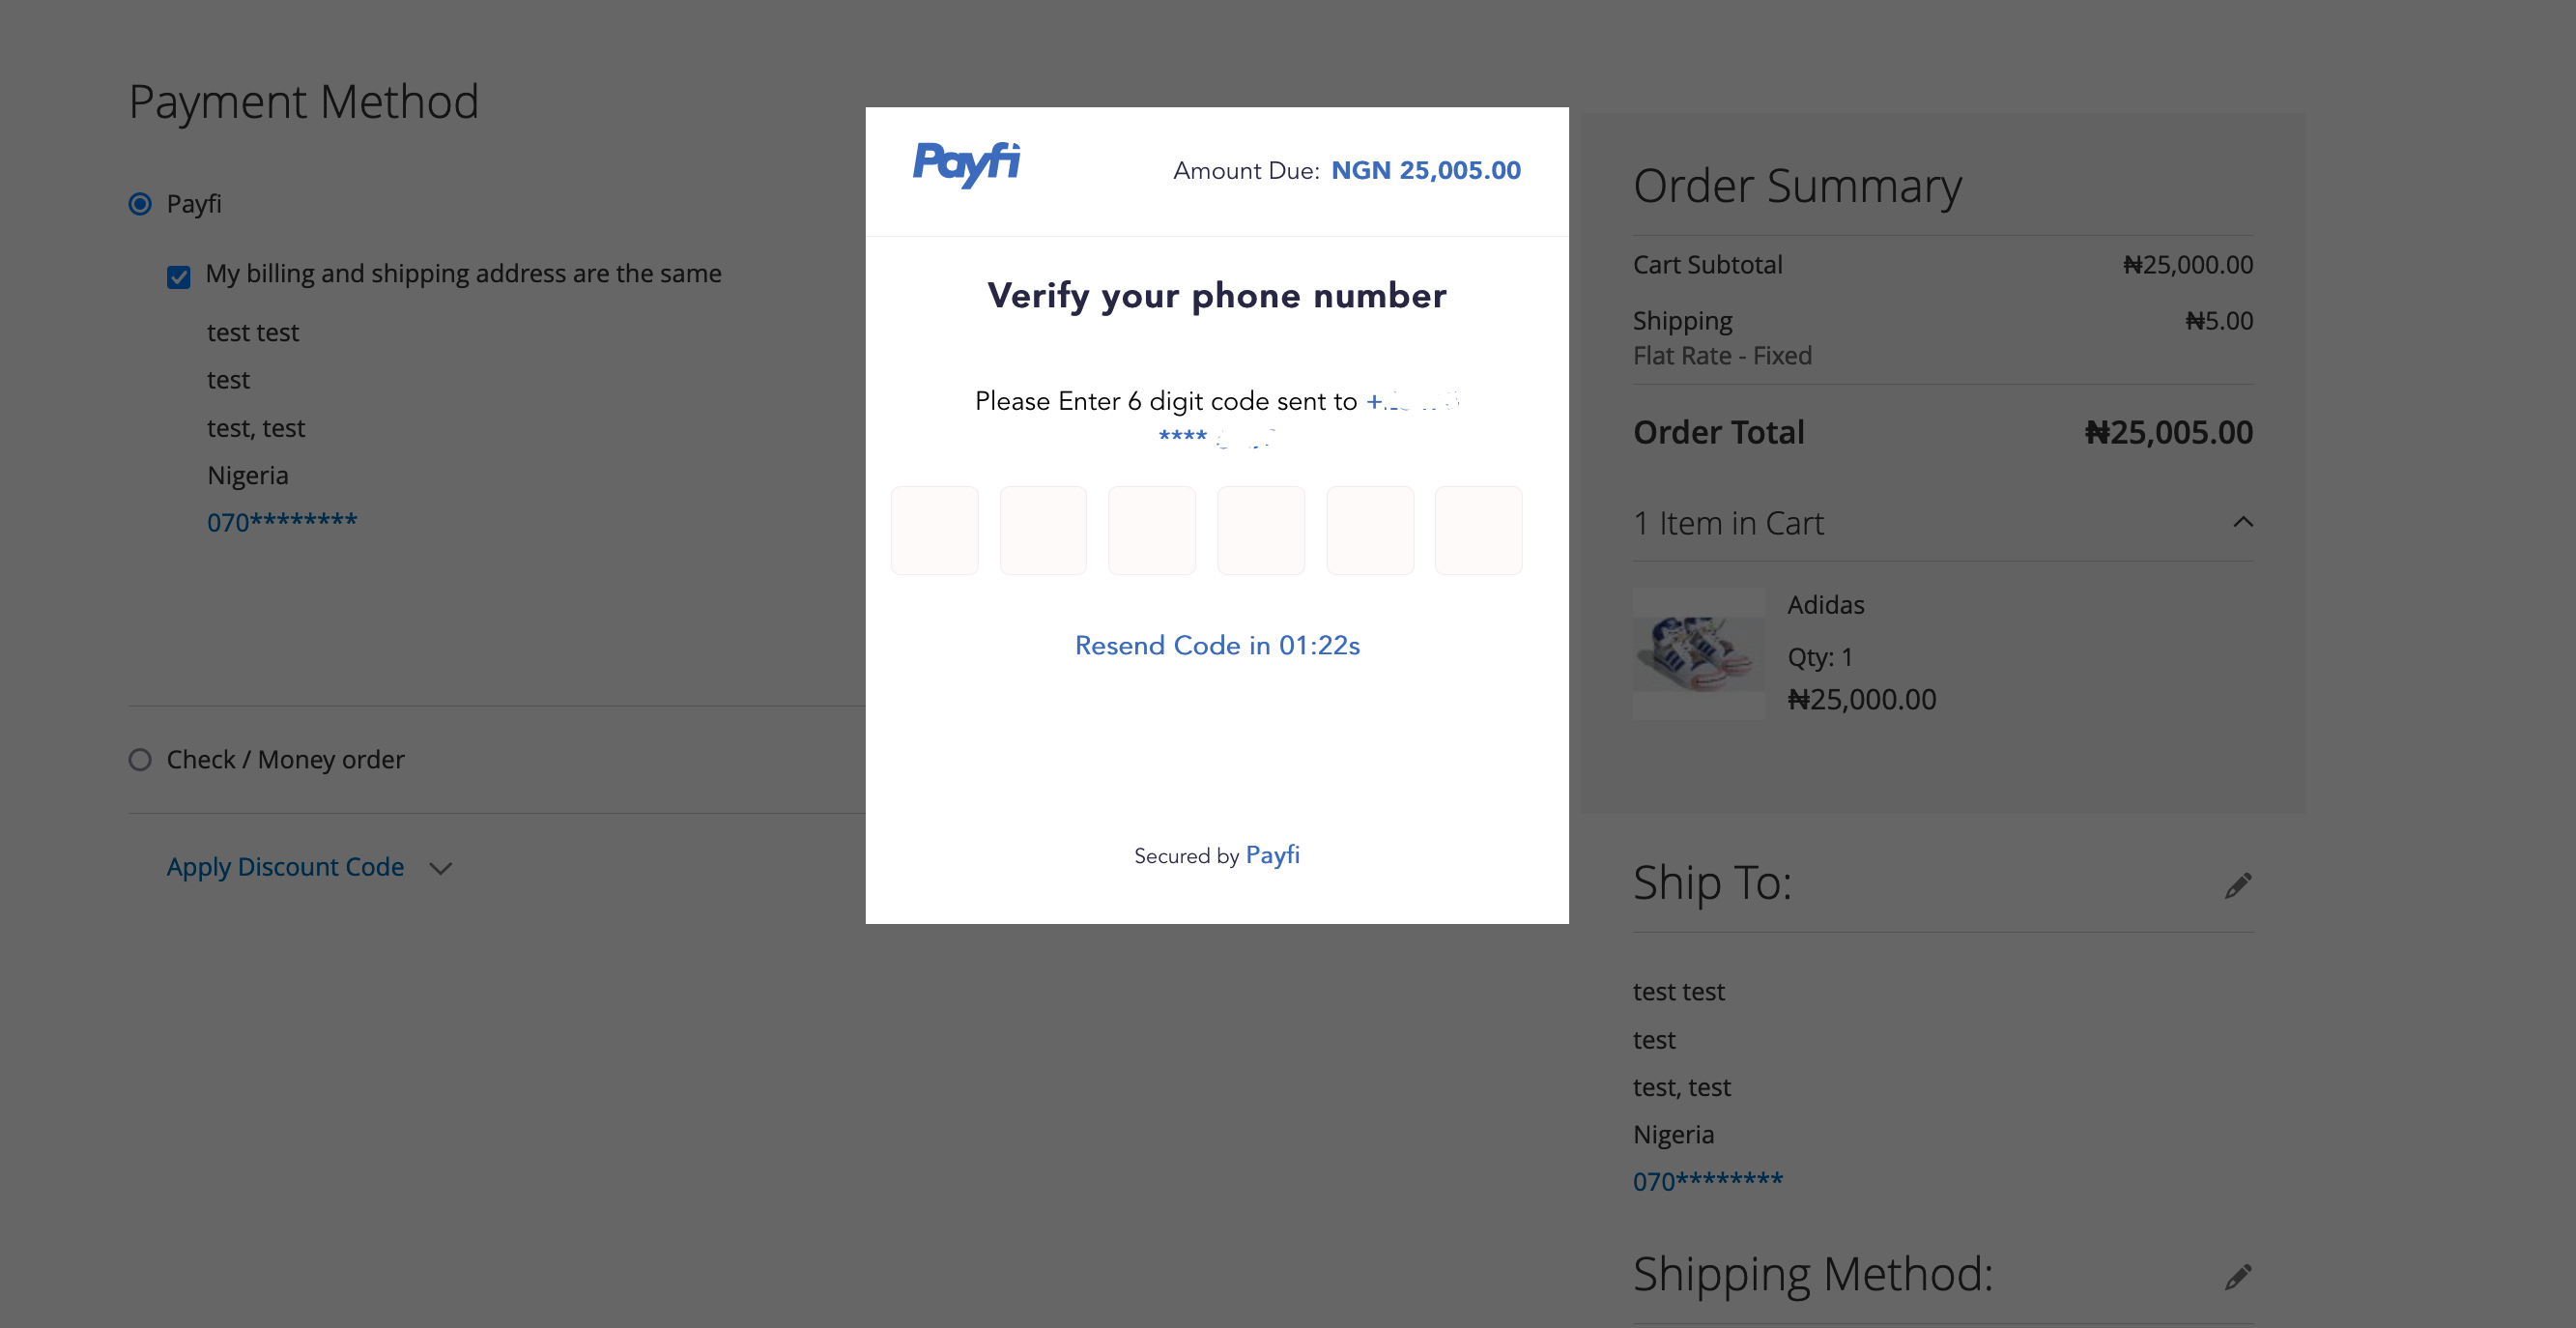
Customer checkout session validation
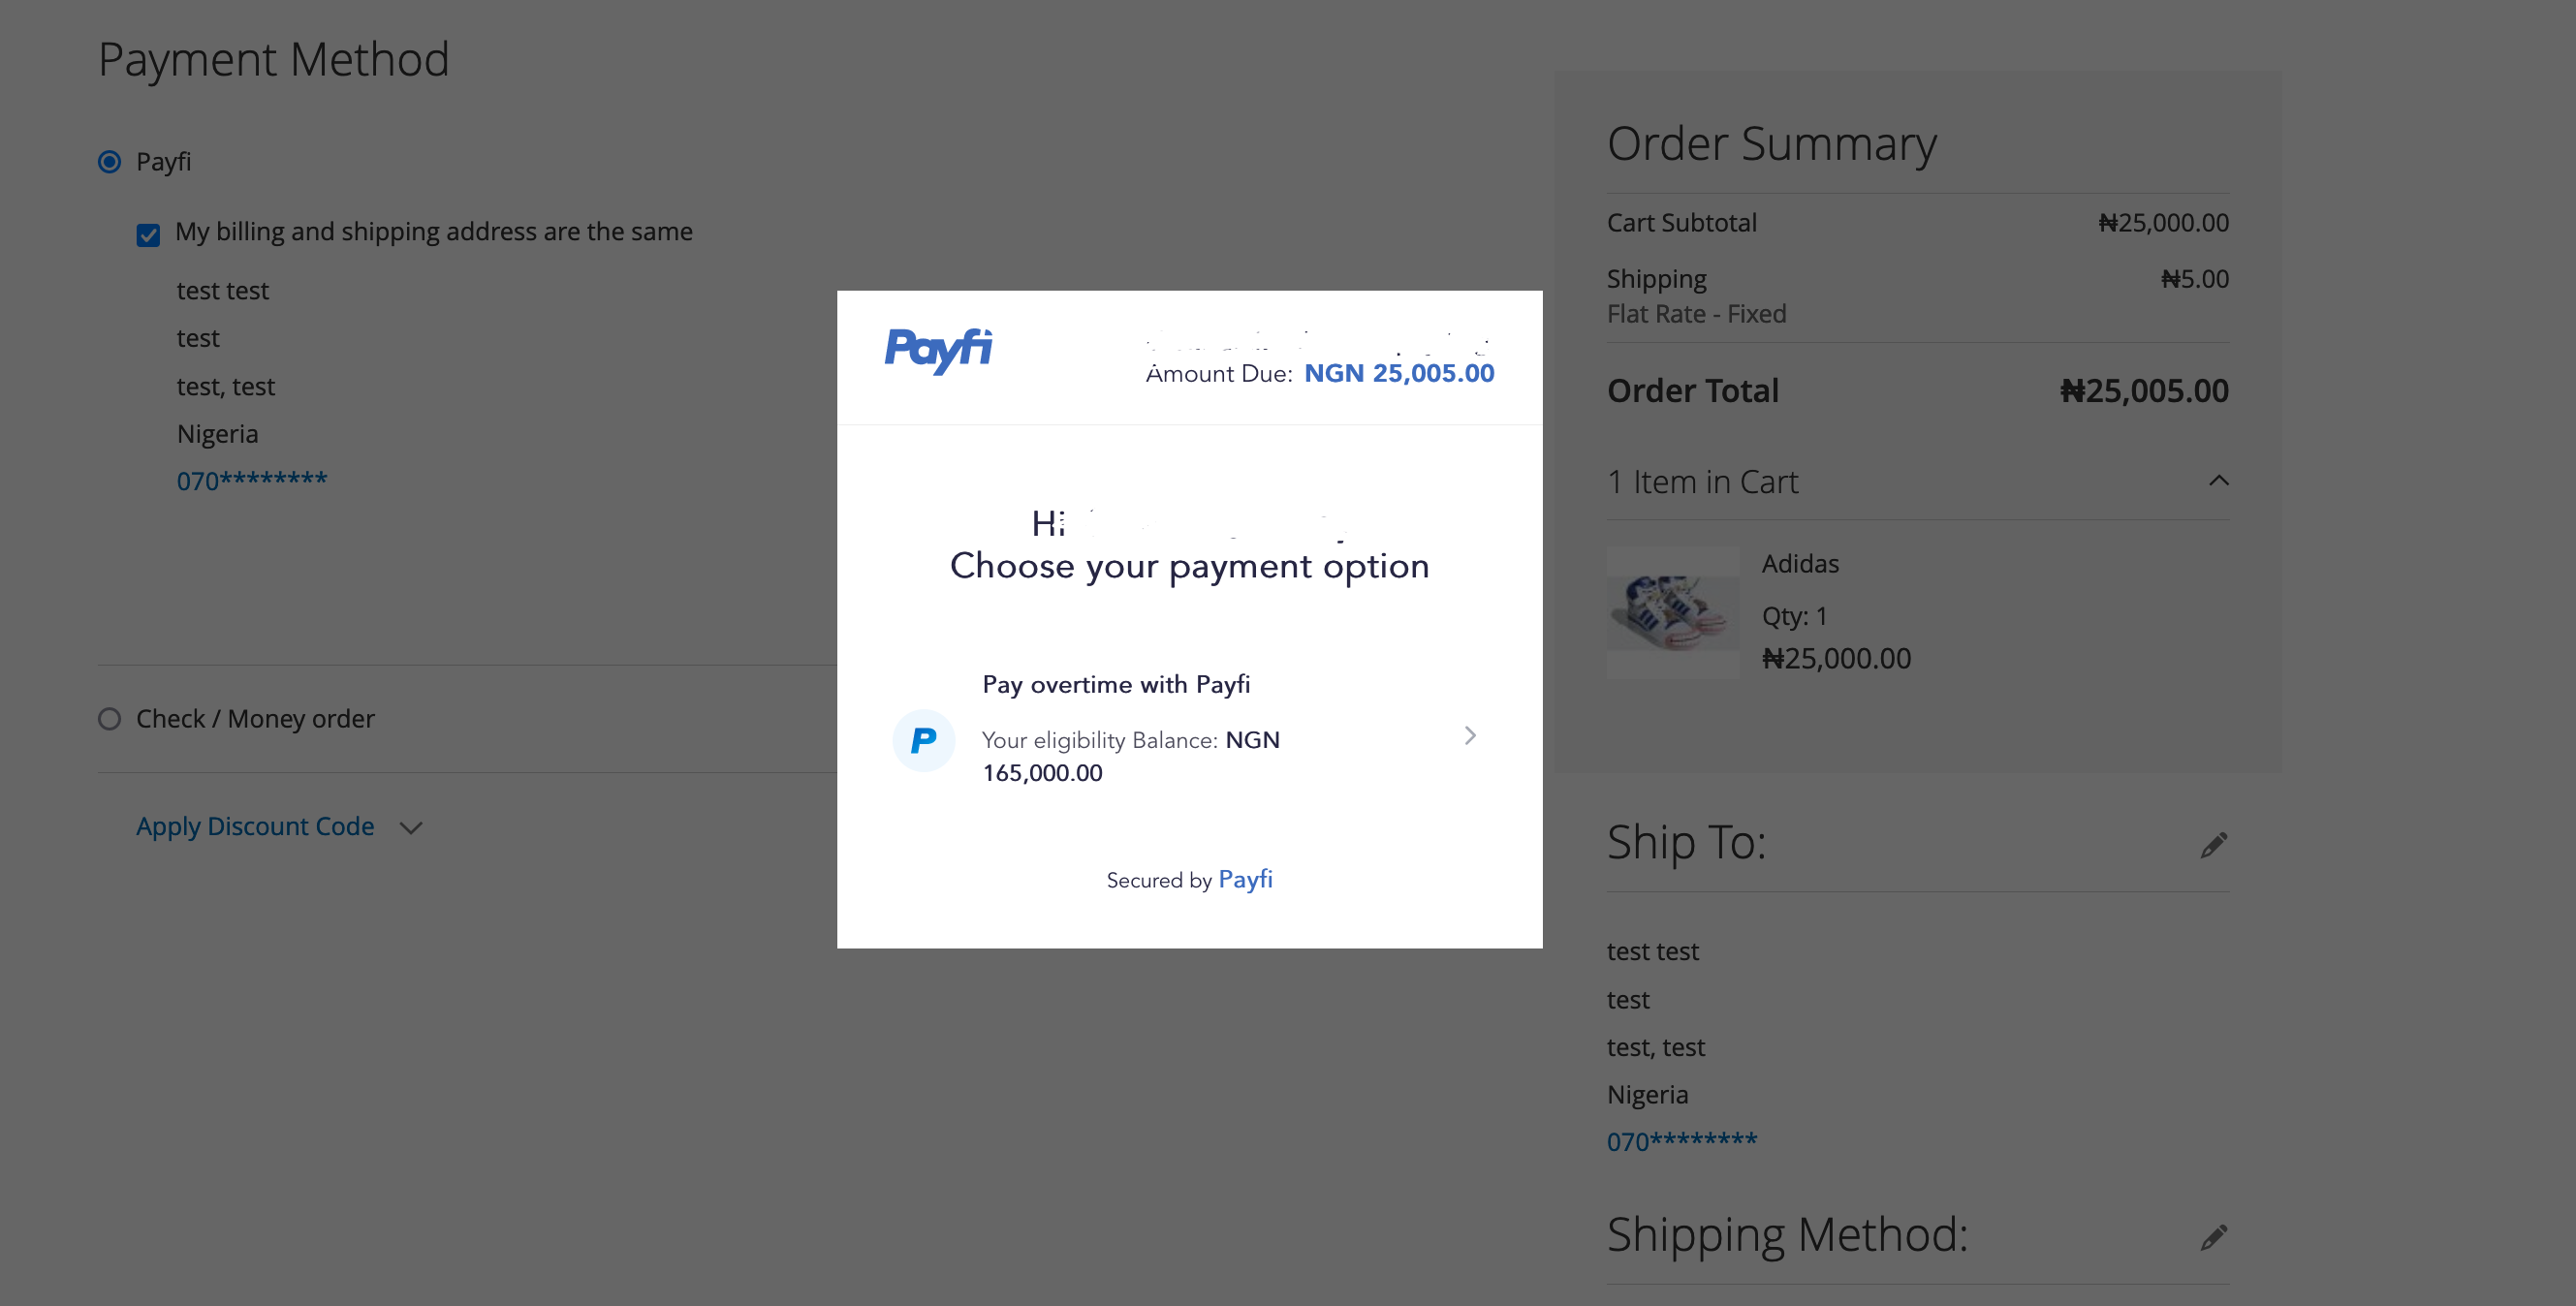
Customer checkout eligibility check
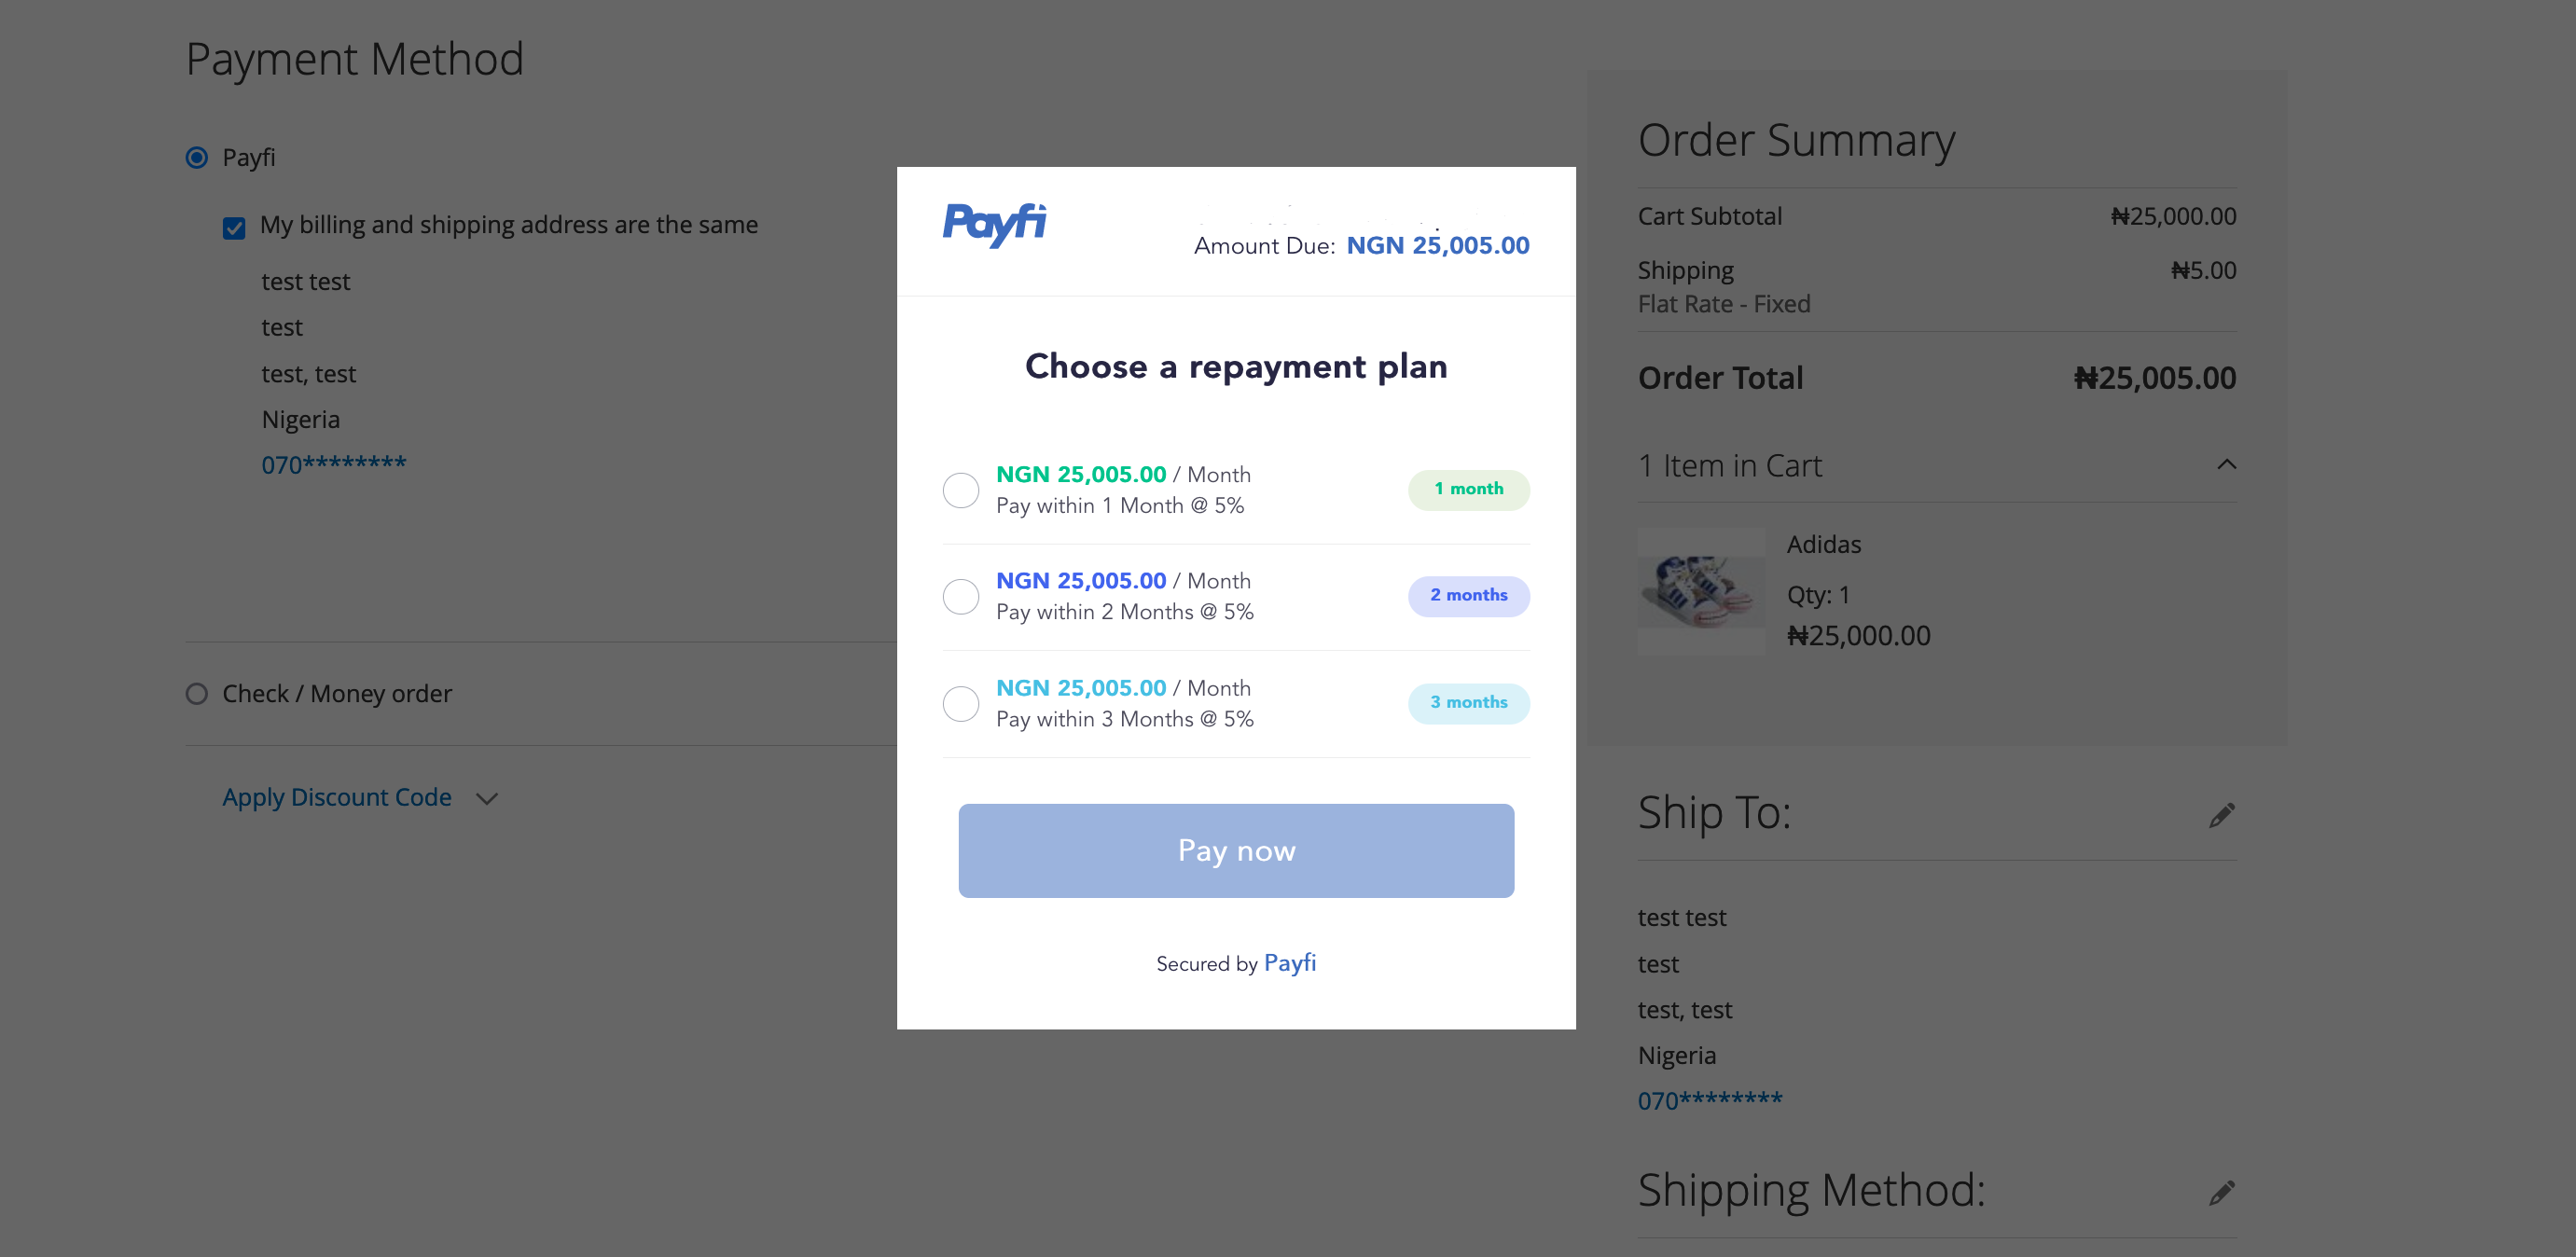
Customer checkout payment plan
Installation
Manual Installation
- Navigate to https://drive.google.com/file/d/1EK-y_MzVLRh7iHJXFtf0RBJtvtI6eM-H/view?usp=sharing
- Download the plugin as a zip file.
- Upload and extract the zip file to app/code into the root directory of your Magento installation.
- To complete the installation process, with your SSH client, log into the server containing your Magento website. If you are using Terminal or any other command-line interface, the command usually starts with the key 'ssh' and goes something like
ssh [email protected]
Check your hosting provider's documentation on how to do this. - Change public key in the file below to client public key Payments\view\frontend\web\js\view\payment\method-renderer\payfipayment.js
- Enter the following commands, one after the other in your command line to enable the Payfi module.
php bin/magento setup:upgrade
php bin/magento setup:static-content:deploy - Navigate to your Magento Admin Dashboard, and go to Stores > Configuration. Under the Sales tab, choose Payment Methods. Payfi should be an option under Other Payment Methods.
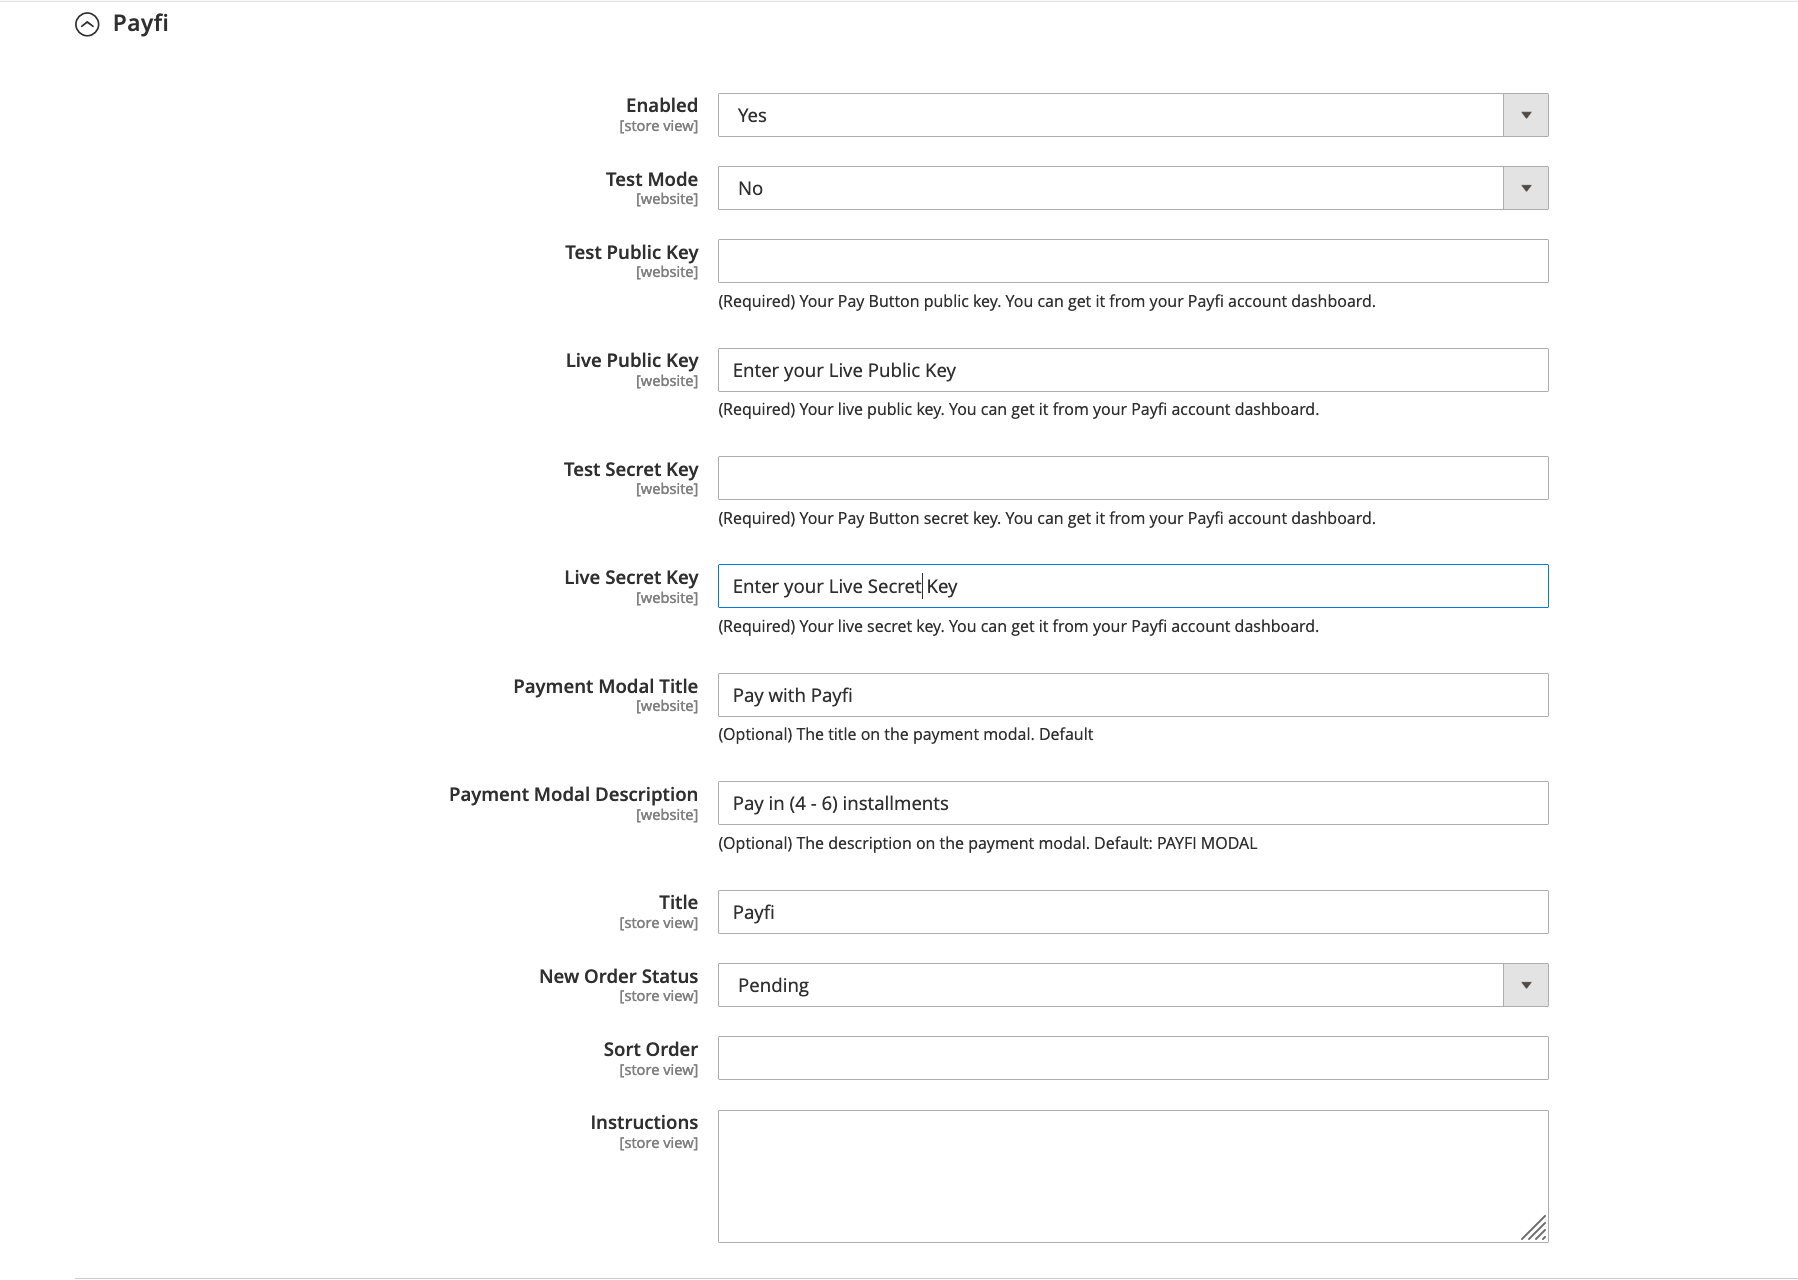
Payfi Magento Payment Gateway Settings
- Enable Payfi by clicking the option in the Payfi section and choosing 'Yes'.
- Configure your plugin by inputting your API Keys. The required keys are available on the Payfi Merchant Dashboard at https://merchant.payfi.ng/settings/webhooks. Use Test Keys while testing your website to ensure it works properly, then use Live Keys when you are ready to start accepting payment from customers. Ensure you click the Test Mode dropdown and put 'No' when you are ready to start accepting live payments.
Updated over 3 years ago
