Payment Link
This describes how to integrate payment links to accept payments on your online store.
Payfi Payment Link
The integration of Payfi Checkout involves four main steps. It starts with a ”create session” API call, to which Payfi responds with a session token for that transaction to be passed to Payfi Checkout widget.
When the user completes the transaction the user is redirected back to the merchant page, where the merchant calls our confirmation API to get the status of the transaction.
Create Session (Step one)
You probably have your test credentials already, otherwise, you can get them at the test environment page.
To create an order you will use our Generate Token REST API and make a HTTP POST {endpoint}/v1/merchant/setup/{public_key} with the header content-type: application/json
{
   "publicKey":"PK_398238392",
   "amount": 355973,
   "reference": "{{$guid}}",
   "callbackUrl": "http://google.com",
   "order":[
            {
                "name":"shoe",
                "id":"sku23322",
                "category":"men shoes",
                "price": 1000,
                "quantity":1
            }
        ]
}
When creating the Session you get back a token, reference and some other information that can be used by a Consumer to access the Payment Page. To launch the checkout SDK, simply follow step 2.
If you expect the Consumer to be redirected to your own website after completing the payment, or by going back or cancelling, you will need to pass in callbackUrl in the Create Session call.
Info
When creating the Session you get back a token and other information that can be used by a Consumer to access the Payment Page.
If you expect the Consumer to be redirected to your own website after completing the payment, or by going back or cancelling, you will need to pass in callbackUrl in the Create Session call.
SDK view endpoint (Step two)
After generating the session, call this endpoint HTTP GET {viewUrl}/?token={token}.
This endpoint will return a HTML page that the user can use in completing the payment

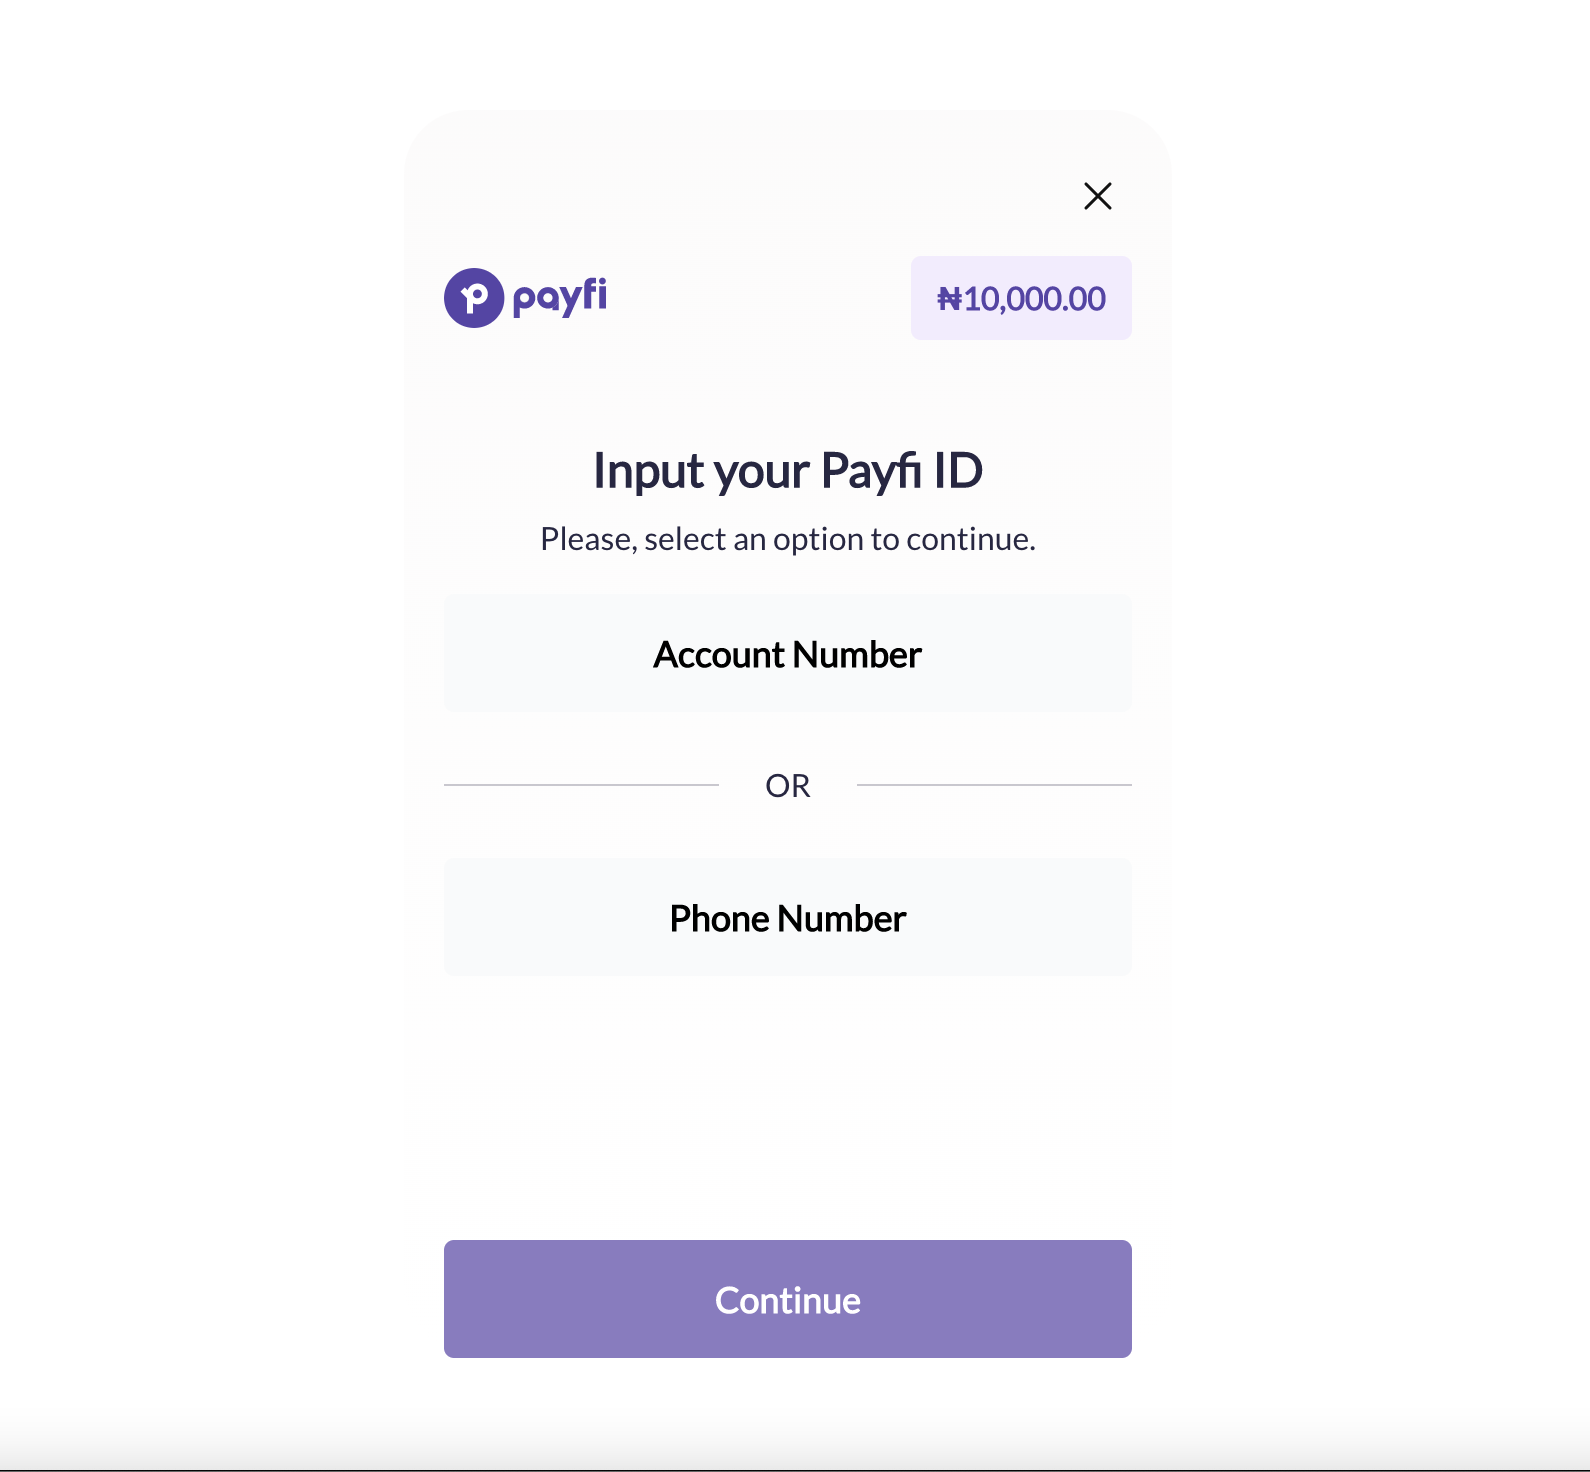
This is the HTML returned from the API which takes the user through the payment flow
Updated over 2 years ago
